
How to repot monstera: pot size, potting mix and timing
How to repot monstera: pot size, potting mix and timing
Monstera is an epiphyte: in the wild, its roots run through the damp bark of a trunk, never compacted soil. Houseplant potting mix alone compacts within a few months and deprives them of air. This is what matters in repotting, long before the choice of pot.
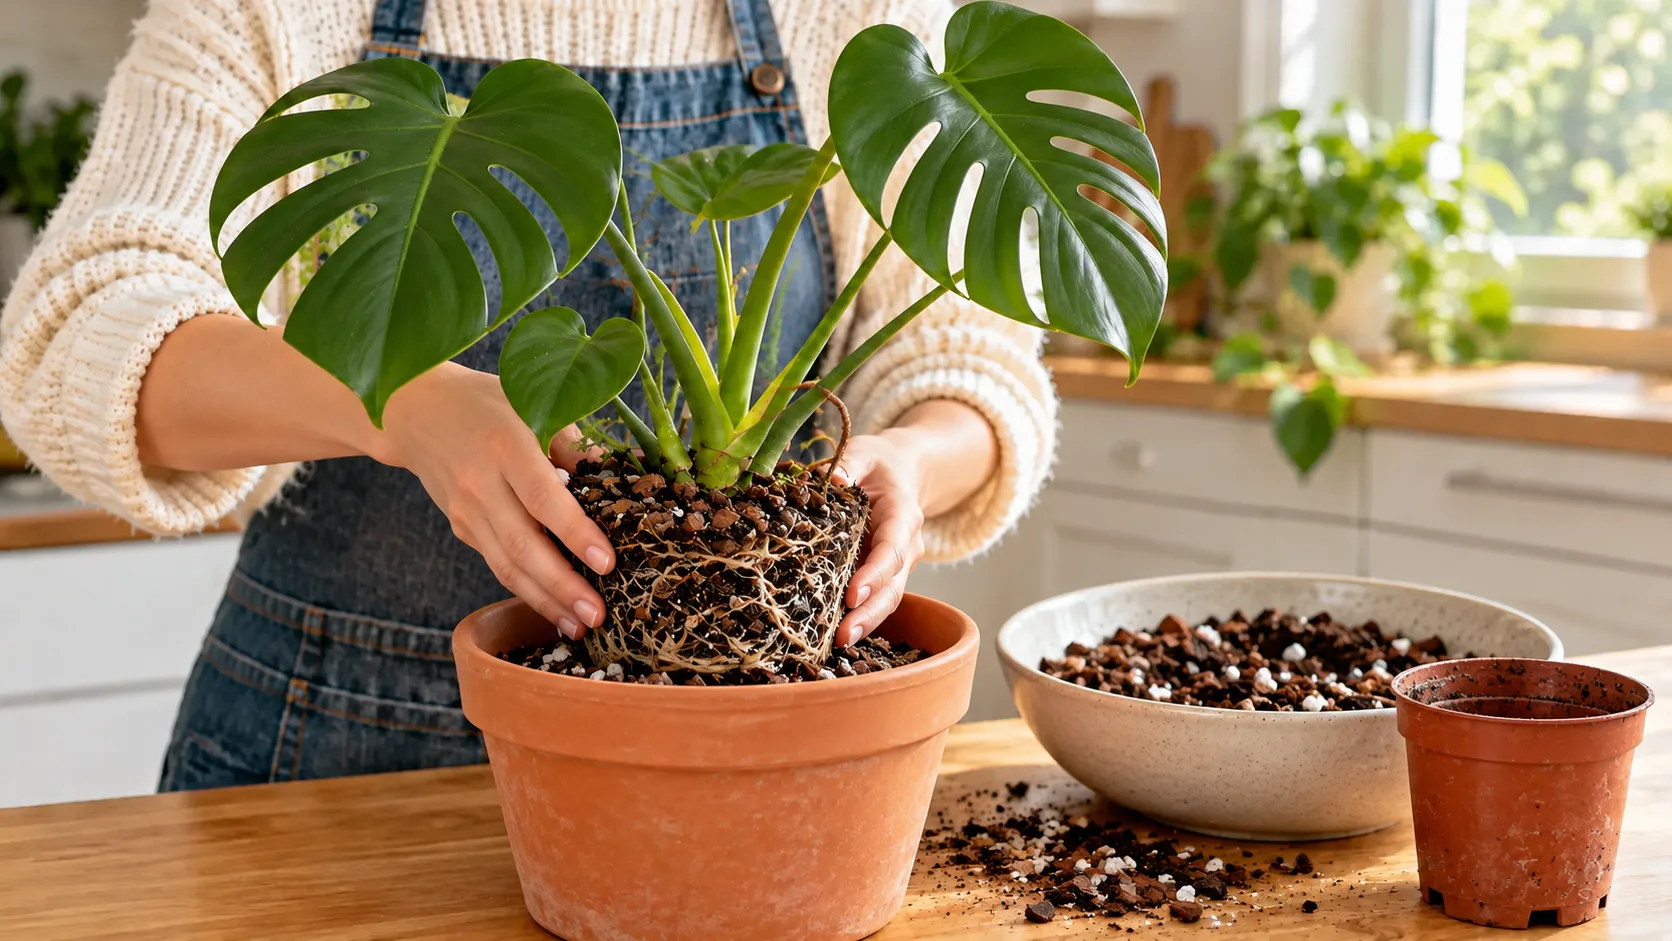
When to repot: three signs, never a calendar
Every 2 to 3 years, and only when the plant needs it. Repotting automatically every spring is a gardening habit, not a requirement of monstera (Monstera deliciosa).
- Repot
- Every 2 to 3 yearsSource: Floralens guide
- When to repot
- In springonly if the plant shows one of the signsSource: Floralens guide
- The new pot
- 2 to 4 cm widerSource: Floralens guide
Three signs justify a decision, and water running through the pot in two seconds is the clearest: it comes out almost clear because the potting mix has broken down, compacted and stopped retaining anything.
A monstera growing well in a slightly tight pot needs nothing. Cramped roots can even encourage upward growth.
Which pot size to choose
Two to four centimeters (about 0.8 to 1.6 in) wider in diameter than the current pot. Never more.
| Material | Recommendation | Why |
|---|---|---|
| Terracotta | Suitable | Dries faster, allowing more leeway with heavy watering Source: Floralens guide |
| Plastic | Suitable | Retains moisture, for very dry interiors Source: Floralens guide |
The reason is simple. A much larger pot contains fresh mix that no roots occupy. Nothing takes up that water, it lingers for weeks and the saturated zone gradually reaches the center of the root ball. This is the classic scenario for root rot, and it does not always come from overwatering: sometimes the pot was simply too large.
The pot must have drainage holes, without exception. A closed decorative outer pot is acceptable provided you empty it once the inner pot has drained after every watering.

Why houseplant potting mix alone is not enough
In the wild, monstera climbs trunks. Its roots travel through a blend of decomposing bark, humus and air pockets, watered generously and drained within minutes. They have never known compacted soil.
Commercial houseplant potting mix, often rich in peat or fine coir, does the opposite: it holds a lot of water, compacts within six to twelve months and drives out oxygen. Roots deprived of air stop absorbing, the plant turns yellow and the usual reaction is to water more. That is how a suffocating plant ends up diagnosed with overwatering when the real culprit is the growing medium.
Aim for a blend that is crumbly and light, with water passing through immediately, retaining moisture without staying waterlogged.
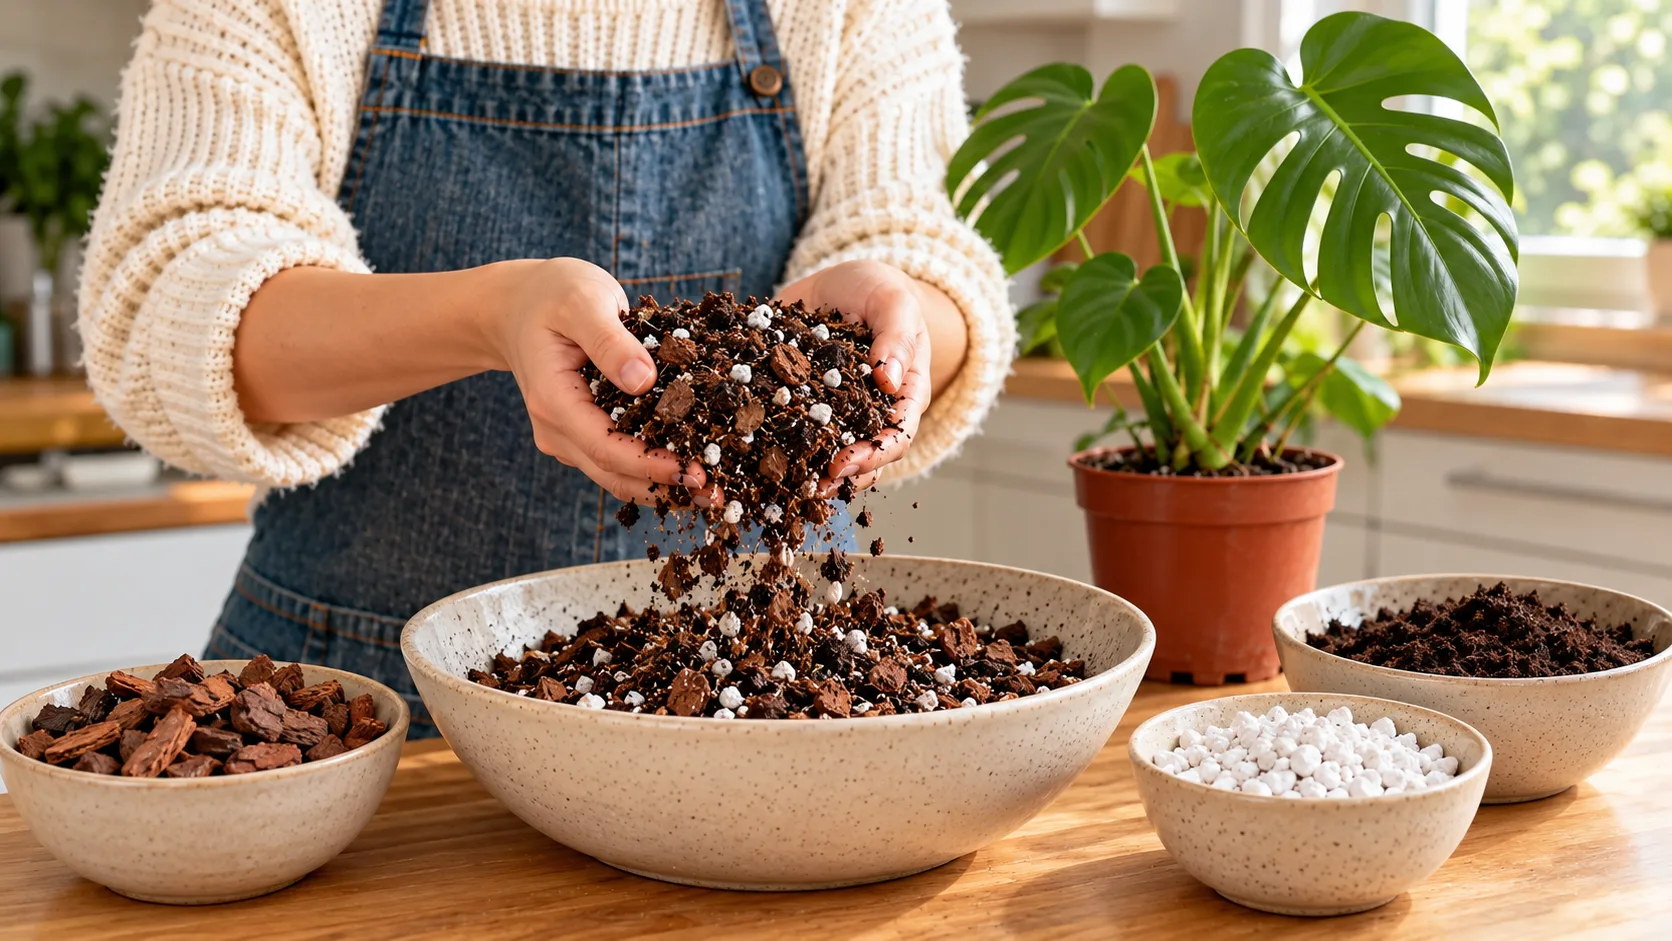
Potting-mix proportions
This blend aims for a slightly acidic pH, between 5.5 and 7. Measure by volume, not weight: a measuring jug or an empty pot of a suitable size is enough.
The mix
- Houseplant potting mix 60%Structure, nutrients and basic moisture retention
- Perlite 20%Drainage and lasting air pockets
- Pine bark 10%Bark pieces 10–20 mm (about 0.4–0.8 in) across for lasting aeration
- Coconut coir 10%Or sphagnum moss, for consistent moisture without saturation
Clay pebbles at the bottom do not improve drainage
Do not put a layer of clay pebbles at the bottom of the pot. The idea seems logical, but the physics says otherwise.
At the boundary between a fine growing medium and a layer of coarse material, water does not move down until the mix above is saturated. This is called a perched water table. As a result, the wettest part of the pot sits exactly where the roots are, and you also lose several centimeters (a few inches) of usable volume.
Drainage depends on the composition of the potting mix and the holes in the pot, not a layer at the bottom.
Repotting, step by step
- Water lightly the day before. A dry root ball crumbles and breaks fine roots; a waterlogged one sticks together.
- Remove the plant by laying the pot on its side and pulling at the base of the stems, not the leaves. Squeeze the sides of a plastic pot.
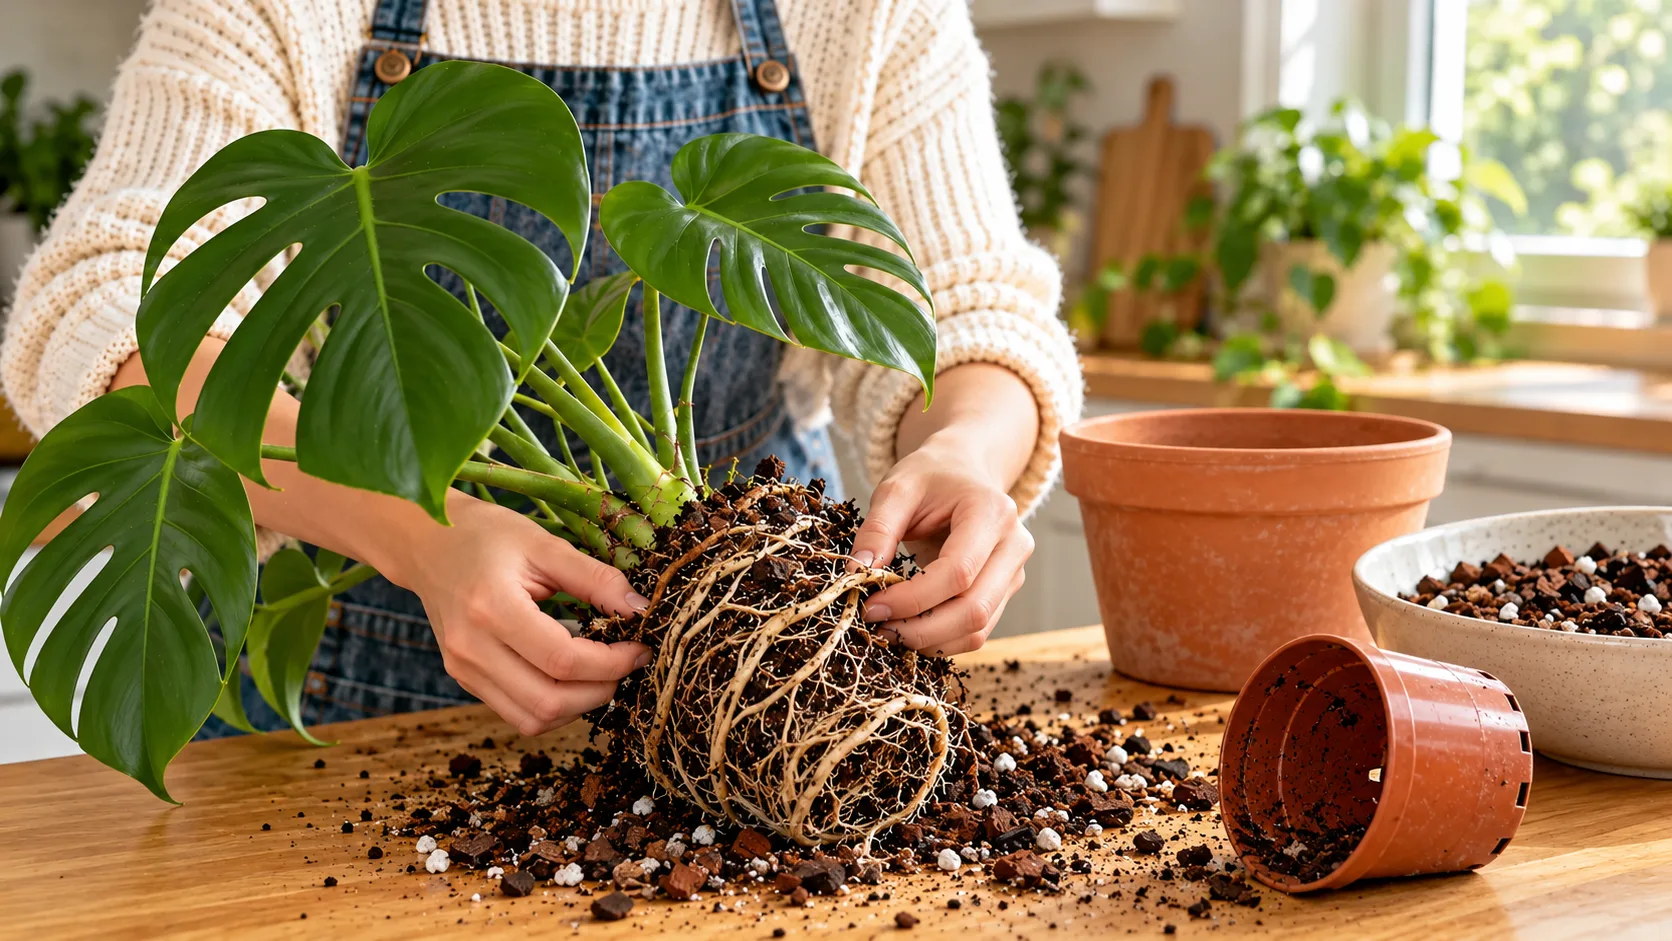
- Untangle the root ball by hand, removing some old mix without forcing it. Gently unwind spiraling roots.
- Inspect and trim only damaged material (see below).
- Put 3 to 5 cm (about 1.2 to 2 in) of fresh mix in the bottom and position the root ball so the crown sits 2 cm (about 0.8 in) below the rim.
- Fill around the sides, pressing very lightly with your fingers. Compacted mix defeats the purpose of the perlite.
- Water thoroughly until water runs out through the holes, leave it to drain, then empty the saucer.
Use this opportunity to install a support if the plant lacks one: after repotting, it will be harder to work around the plant without damaging new roots.
Should you cut the roots?
Only soft, brown or black roots. A healthy monstera root is firm, white to pale beige and resists pressure. A dead root slips apart and leaves its outer layer between your fingers.
Use shears disinfected with 70% alcohol and cut 1 cm (about 0.4 in) back from the affected area into healthy tissue. Throw away the debris rather than leaving it in the fresh mix.
Keep all healthy roots, even very long ones. Coil them gently into the pot rather than shortening them. Untangle a very dense root ball by hand, with two or three shallow vertical cuts along its sides if necessary to encourage branching.
What about aerial roots?
These thick cords emerging from nodes and reaching for the soil are useful organs: they provide anchorage and absorb water. Cutting them does the plant no good and solves nothing visually, because they regrow.
There are three options when repotting: bury them in the fresh mix, where they become ordinary roots; guide them towards a support of moist sphagnum or coir; or simply leave them alone in the air.
The following weeks
No fertilizer for 4 to 6 weeks. Fresh potting mix already contains it, and newly handled roots burn easily on contact with a nutrient solution.
For watering, the generous soak on repotting day is enough for a while: fresh mix dries more slowly than old compacted mix colonized by roots. Resume your usual rhythm only when the mix feels dry 2 cm (about 0.8 in) down, which may take a week longer than usual.
Put the plant in bright indirect light, away from direct sun, and leave it alone. A slightly drooping leaf in the first few days is normal. New growth generally appears within three to six weeks: that is the sign that the roots have recovered.
Frequently asked questions
When should you repot a monstera?
Every 2 to 3 years, preferably as spring growth resumes, and only if the plant shows signs: roots emerging through drainage holes, water running through the pot in two seconds or growth stopping during the growing season. A monstera growing well in a slightly tight pot needs nothing.
Which potting mix should you use for a monstera?
Never houseplant potting mix alone: it compacts and suffocates the roots. Use 60% houseplant potting mix, 20% perlite, 10% pine bark and 10% coconut coir. The blend should stay crumbly and let water pass through immediately.
What size pot does a monstera need?
Two to four centimeters (about 0.8 to 1.6 in) wider in diameter than its current pot, no more. An oversized pot holds a volume of mix without roots: it stays wet for weeks and sets up root rot.
Should you cut a monstera’s roots when repotting?
Only roots that are soft, brown or black, using disinfected pruning shears. Keep all firm, white or beige roots, even long ones. If they form a very tight coil, untangle them by hand rather than shortening them.
Can you repot a monstera straight after buying it?
No, wait three to four weeks. The plant is already adjusting to changes in light, humidity and temperature. Repotting adds unnecessary root stress, unless the mix is visibly waterlogged or smells moldy.
Should you cut off a monstera’s aerial roots?
No, they provide anchorage and absorb water. Guide them into the potting mix or towards a support instead of removing them. An aerial root buried during repotting becomes an ordinary root and strengthens the plant.