
Repotting oleander: when and which potting mix
Repotting oleander
Repot young oleanders annually, older plants every three to five years, in spring as growth resumes. Increase pot size by only a few centimeters. Soil becomes heavier with age: peat-free loam-based potting mix, garden soil and a little sand.
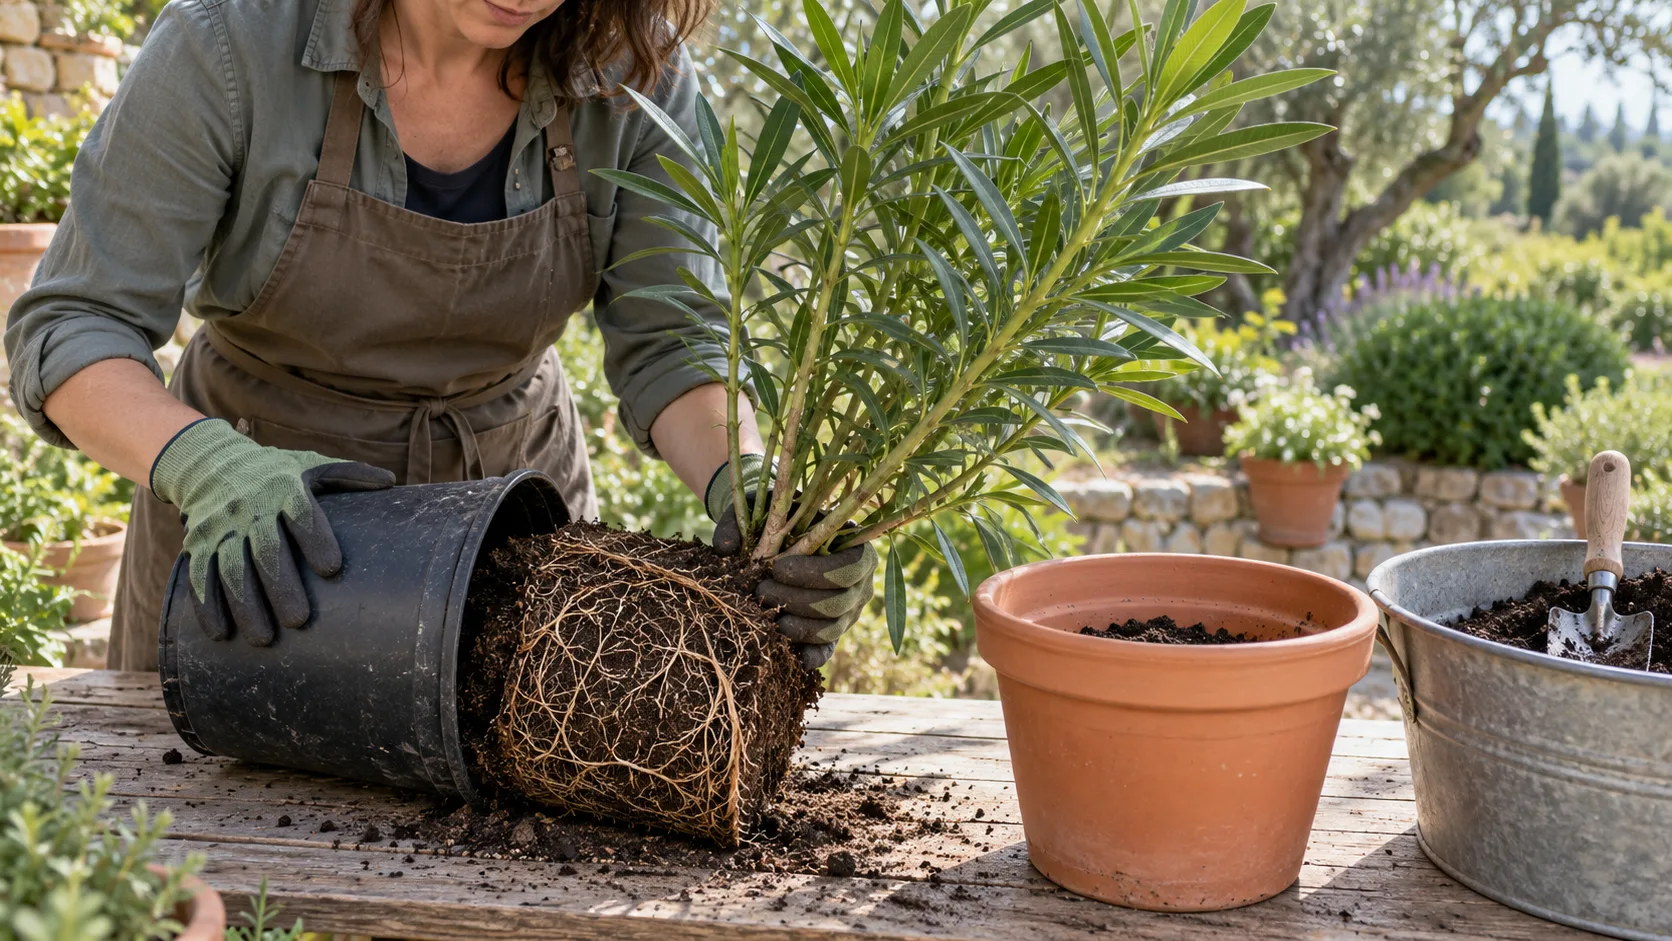
When to repot oleander
As growth resumes, in spring in the RHS’s UK seasonal setting. The RHS calls this best for shrubs, which immediately use the extra space; early or midsummer also works1. Avoid fall and winter: growth slows or stops and fresh potting mix may stay waterlogged1. Container oleanders also leave winter shelter then, after the last frosts2.
| Task | January | February | March | April | May | June | July | August | September | October | November | December |
|---|---|---|---|---|---|---|---|---|---|---|---|---|
| Watering | reduced | reduced | reduced | moderate | high | high | high | high | moderate | reduced | reduced | reduced |
| Growth | resting | resting | active | active | strong | strong | strong | strong | active | active | resting | resting |
| Feeding | no | no | yes | yes | yes | yes | yes | yes | no | no | no | no |
| Repotting | no | no | favorable window | favorable window | no | no | no | no | no | no | no | no |
- Repot
- Every 1 yearsYoung plant · in a potSource: Bayerische Gartenakademie (LWG)
- Repot
- Every 3 to 5 yearsOlder plant · in a potSource: Bayerische Gartenakademie (LWG)
- When to repot
- In springas growth beginsSource: Royal Horticultural Society
- When to repot
- In summerin early or midsummer, if neededSource: Royal Horticultural Society
- Avoid
- In autumnfresh potting mix would stay too wetSource: Royal Horticultural Society
- Avoid
- In winterthe plant is no longer growingSource: Royal Horticultural Society
- The new pot
- 2,5 to 5 cm widerfor a pot less than 25 cm (about 10 in) in diameterSource: Royal Horticultural Society
Frequency depends on age. Bavaria's Gartenakademie repots young oleanders (Nerium oleander) annually, older plants every three to five years3, the RHS interval for most container plants1. Vigor, potting mix type and pot size affect timing1.
Signs an oleander is pot-bound
Unpot the plant: this is the only way to know if roots are cramped. The RHS recommends lifting the root ball rather than guessing1. Four signs indicate repotting:
- Circling roots at the bottom or emerging from drainage holes. This root tangle blocks drainage and leads to root rot1.
- Soil staying wet long after watering because the root mass blocks drainage1.
- Falling soil level: decomposing organic matter makes potting mix lose air, drainage and reserves1.
- Slower growth because roots lack space1.

Constantly waterlogged potting mix often reflects the same problem: cramped roots in old potting mix that no longer drains, risking root rot1.
Avant de rempoter un laurier qui jaunit, yellow leaves on oleander aident à écarter la soif, la faim d'engrais et les insectes.
Pot size for repotting
One size up, no more. The new pot should be no more than one-third larger. Below 25 cm (10 in) diameter, the RHS adds 2.5–5 cm (1–2 in) in width and depth1. Oversized pots hold excess wet potting mix around a small root ball, the most direct route to root rot4.
| Material | Recommendation | Why |
|---|---|---|
| Terracotta | Suitable | Dries quickly; choose a frost-proof pot Source: Royal Horticultural Society |
| Plastic | Suitable | Lightweight, retains moisture better Source: Royal Horticultural Society |
| Wood | Suitable | A sturdy half-barrel, but the wood rots over time Source: Royal Horticultural Society |
| Metal | Avoid | Heats up in summer sun, becomes icy cold in winter Source: Royal Horticultural Society |

Pots need drainage holes4. Larger pots are not always practical for heavy old plants: the RHS allows reusing the container after root pruning1, explained below.
Matière du pot, cales, soucoupe et protection d'hiver : potted oleander se choisit pour des années.
Potting mix for repotting oleander
Loam-based potting mix, progressively heavier as plants age. Under glass, the RHS specifies peat-free loam-based potting mix5, intended for long-term containers, such as peat-free John Innes1.
The mix
- Loam-based potting mixPeat-free, for long-term container growing Source: Royal Horticultural Society
- Garden soilOr compost; use a heavier mix for an old plant Source: Bayerische Gartenakademie (LWG)
- Coarse sandOne part in five in the LWG recipe Source: Bayerische Gartenakademie (LWG)
Bavaria's Gartenakademie gives a precise recipe3:
- two parts good garden soil or compost;
- two parts peat in the original recipe, replaced with peat-free potting mix;
- one part sand;
- 1.5–2 g complete fertilizer per liter of mix (0.20–0.27 oz per US gal).
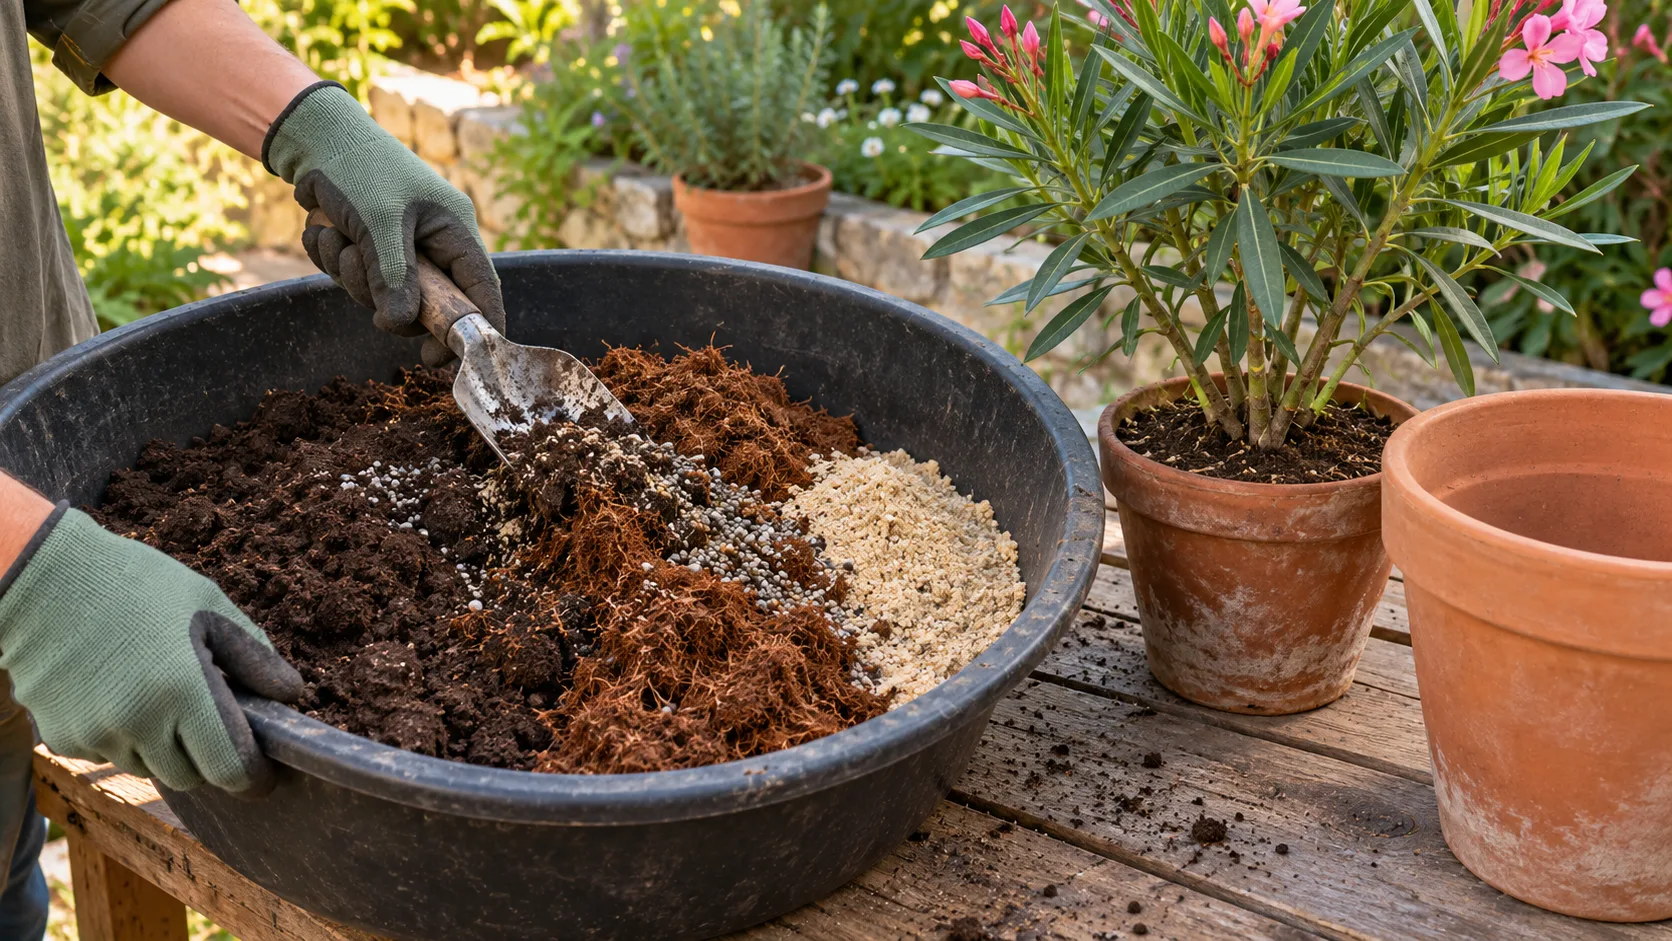
Its accompanying rule matters as much as proportions: the older the oleander, the more the soil should be loamy3. The RHS specifies always choosing peat-free potting mix4, hence replacing the original peat.
The SNHF specialist considers commercial potting mix sufficient for young plants6. Oleander accepts all pH levels and chalky soil5.
Repotting oleander, step by step
Put on gloves first: oleander is toxic; the RHS requires gloves and protection when handling it5.
- Remove the root ball by pulling main stems while holding the pot. If resistant, lay the pot sideways. Dry, shrunken soil releases more easily1.
- Inspect roots. Untangle circling roots underneath and around the sides, lightly pruning if necessary1. Cut soft, rotten roots1. Replant healthy, uncrowded root balls intact: the SNHF specialist avoids loosening unless very compact6.
- Line the new pot's bottom with lightly firmed potting mix1.
- Position the root ball, its top just below the rim1.
- Fill around the sides, firming to remove air pockets. Barely cover upper roots, without piling soil against the trunk1.
- Water thoroughly until water exits drainage holes, having passed through all the soil1.
For long-term shrubs, the RHS mixes slow-release fertilizer into potting mix at repotting7.
Keeping the container: root pruning
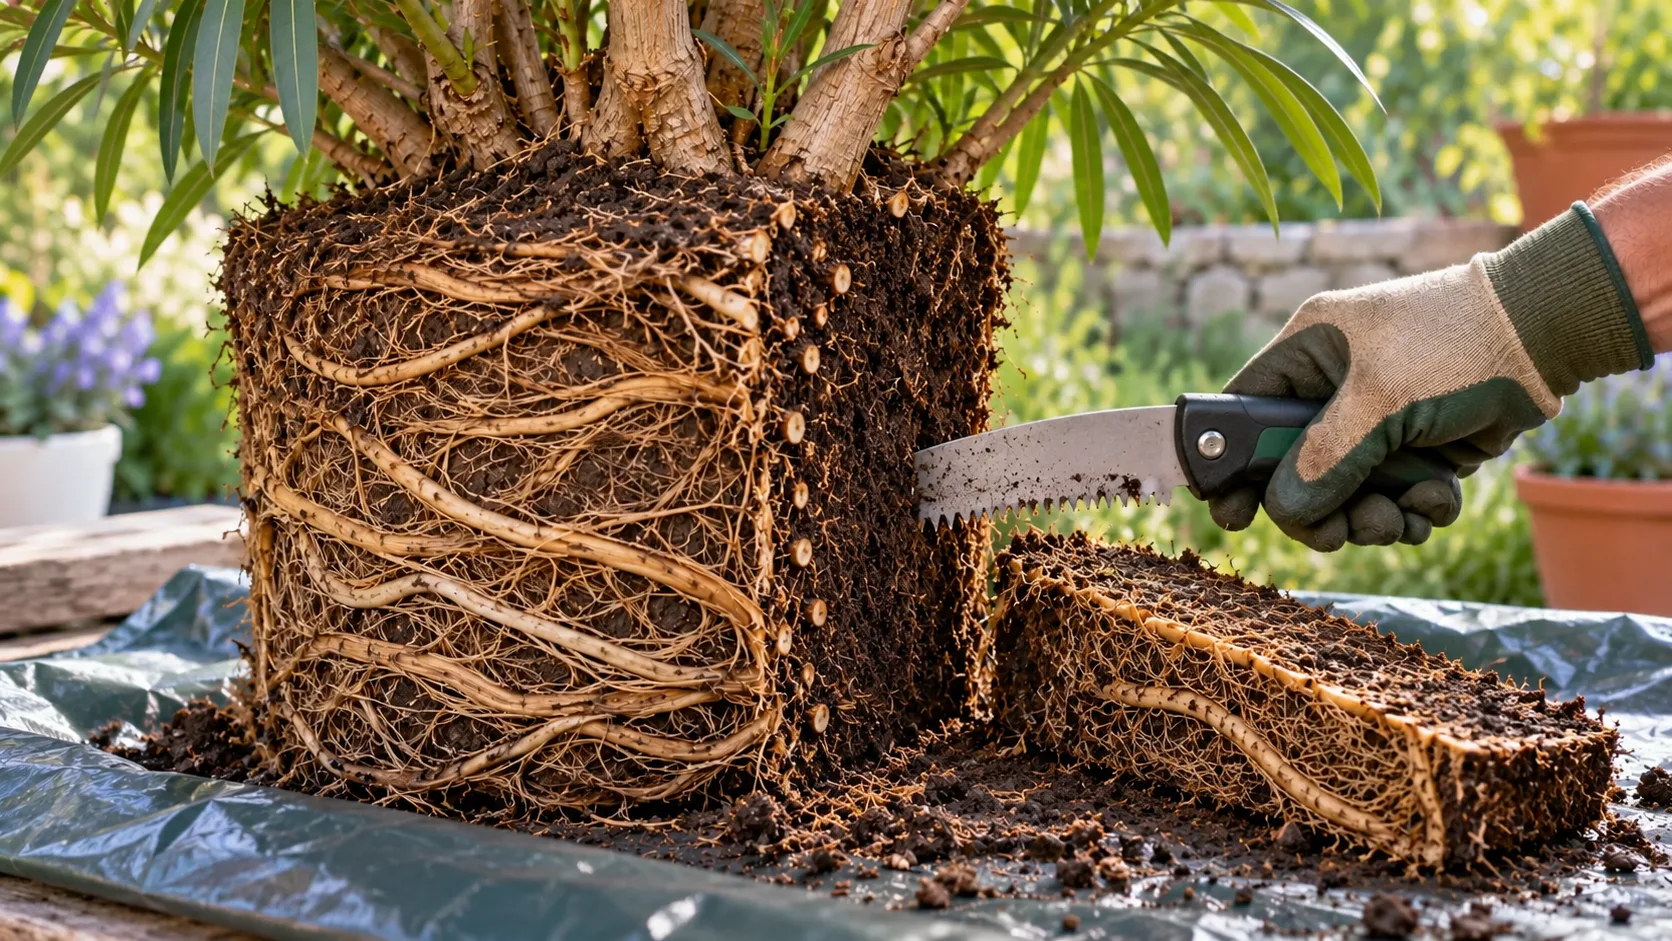
An old oleander can stay in the same large container for years. The RHS allows this when larger pots become too costly, heavy or bulky: light root pruning, up to 15% of root mass every few years, often suffices1. To return severely cramped plants to the same pot with fresh potting mix, it removes up to one-quarter of outer roots1.
Bavaria's Gartenakademie loosens the root ball with a pointed stick, then cuts free roots, letting the plant fit its old container with fresh soil added3.
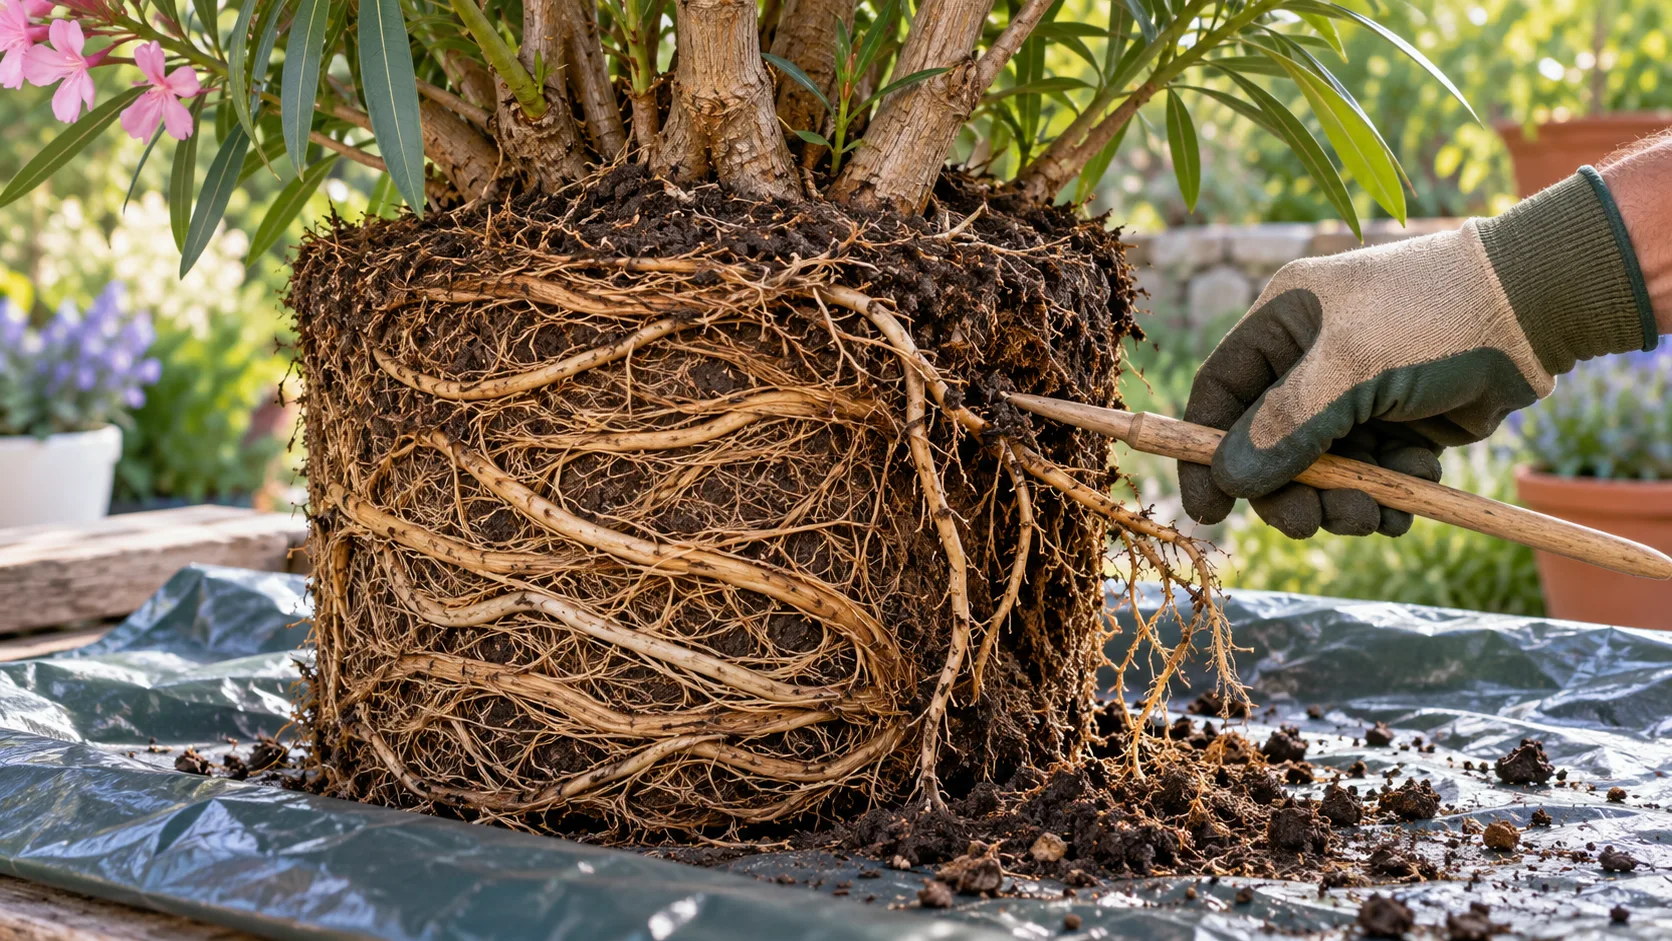
For very tight root balls, the RHS cuts a slice from one side or the base, spreading reduction over several years to limit stress1.
Years without repotting: top-dressing
Between repottings, renew only the surface soil. The SNHF recommends annual top-dressing for container oleanders2. The RHS goes further: remove loose old potting mix from the top and sides of the root ball and replace it1.
Do this in spring, like repotting. Scrape without damaging large roots, refill to the original level and water.
After repotting
Fourteen days in shade. Bavaria's Gartenakademie specifies this for newly repotted oleander3. Then return it to the full sun it needs5.
Water according to soil, rather than a calendar: larger pots retain more water around roots4, and overwatering remains the leading cause of container plant losses7.
Pour reprendre l'arrosage sans noyer les racines, watering oleander se décide au doigt, au tiers du pot.
Une fois la plante repartie, oleander fertilizer reprend pour la saison de floraison.
A spotted leaf or insect found during repotting? Photograph it: Floralens identifies the problem and suggests the appropriate step.
Frequently asked questions
Which potting mix should I use to repot oleander?
When should I transplant oleander?
As growth resumes, in spring in the RHS’s UK seasonal setting; early or midsummer also works in that calendar. Avoid fall and winter dormancy, when fresh potting mix stays too wet1. The SNHF specialist’s French growing example allows container-grown oleanders to be planted in the ground almost year-round, subject to local frost and growth conditions6.