
How to propagate a monstera: the complete method
How to propagate a monstera: the complete method
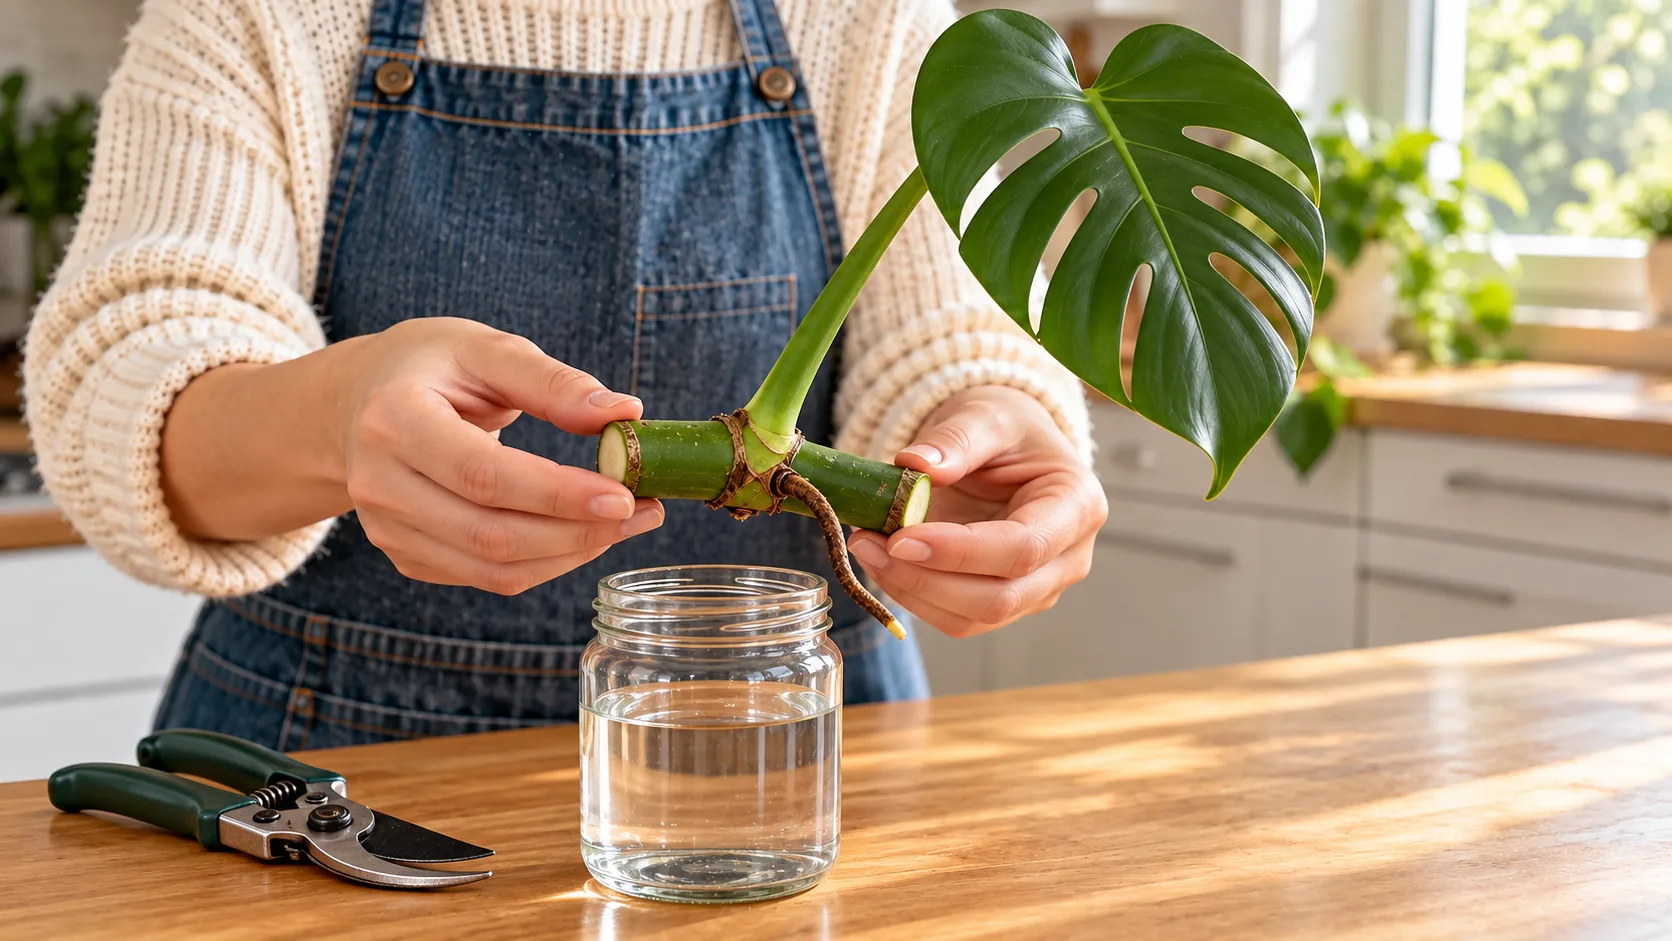
A monstera cutting succeeds on one condition: it must have a node. A single leaf, however beautiful, will never grow roots; after a few months in its vase, it will eventually turn yellow.
The essential part to keep: the node
A monstera cutting needs just one thing: a node. This is the small swelling on the stem where both a leaf stalk and an aerial root emerge, the brown projection that seems to be searching for the soil.
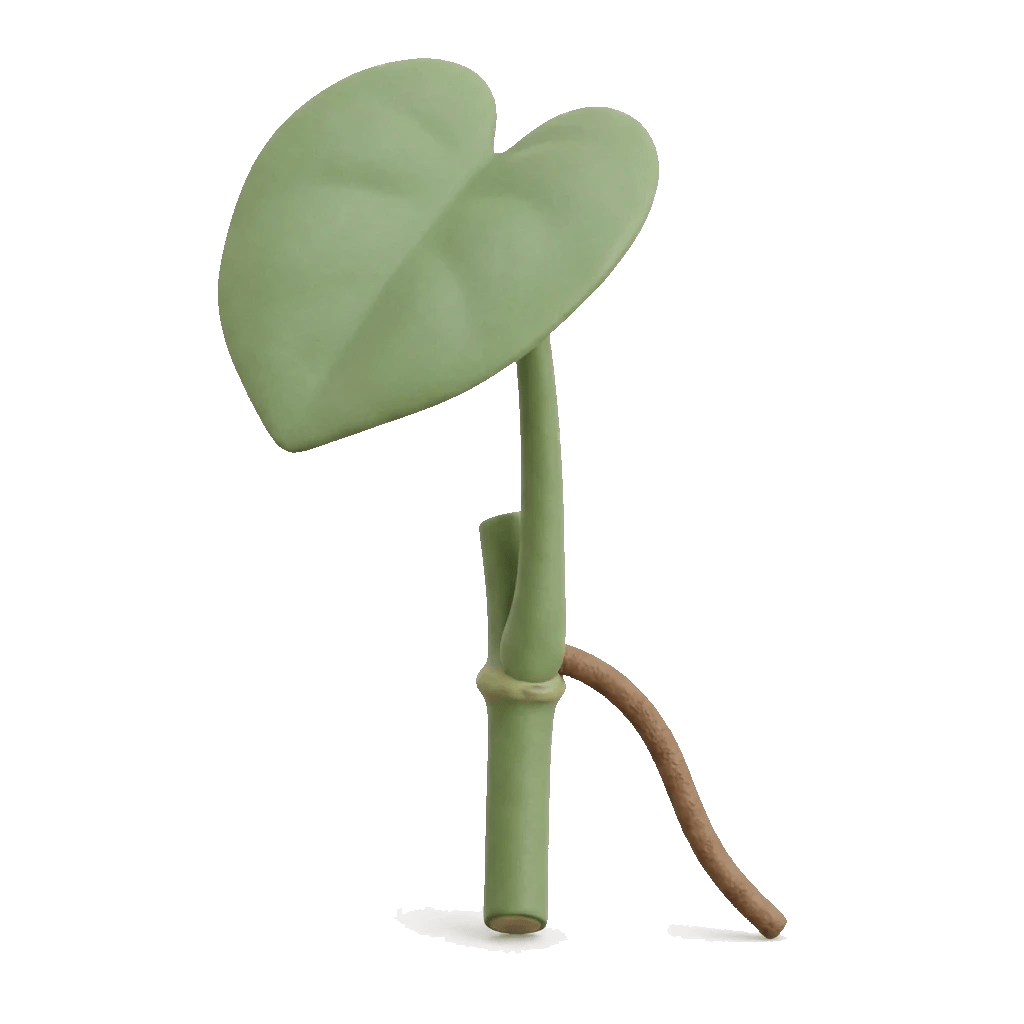
- node
- leaf stalk + leaf
- aerial root
The node
The node is the swollen point where the leaf stalk and aerial root emerge: it is the only part of the stem that can produce a new plant.
Everything else is secondary. A cutting with a node and no leaf will eventually grow again; a cutting with a magnificent leaf and no node is doomed, whatever you do. This is the most common mistake and explains why so many “monstera cuttings” sold through social media never grow.
The node contains the meristem, the tissue able to produce new cells. The leaf stalk does not.
Exactly where to cut
Cut 2 cm (about 0.8 in) below the node, at 45°, with pruning shears disinfected using 70% alcohol.
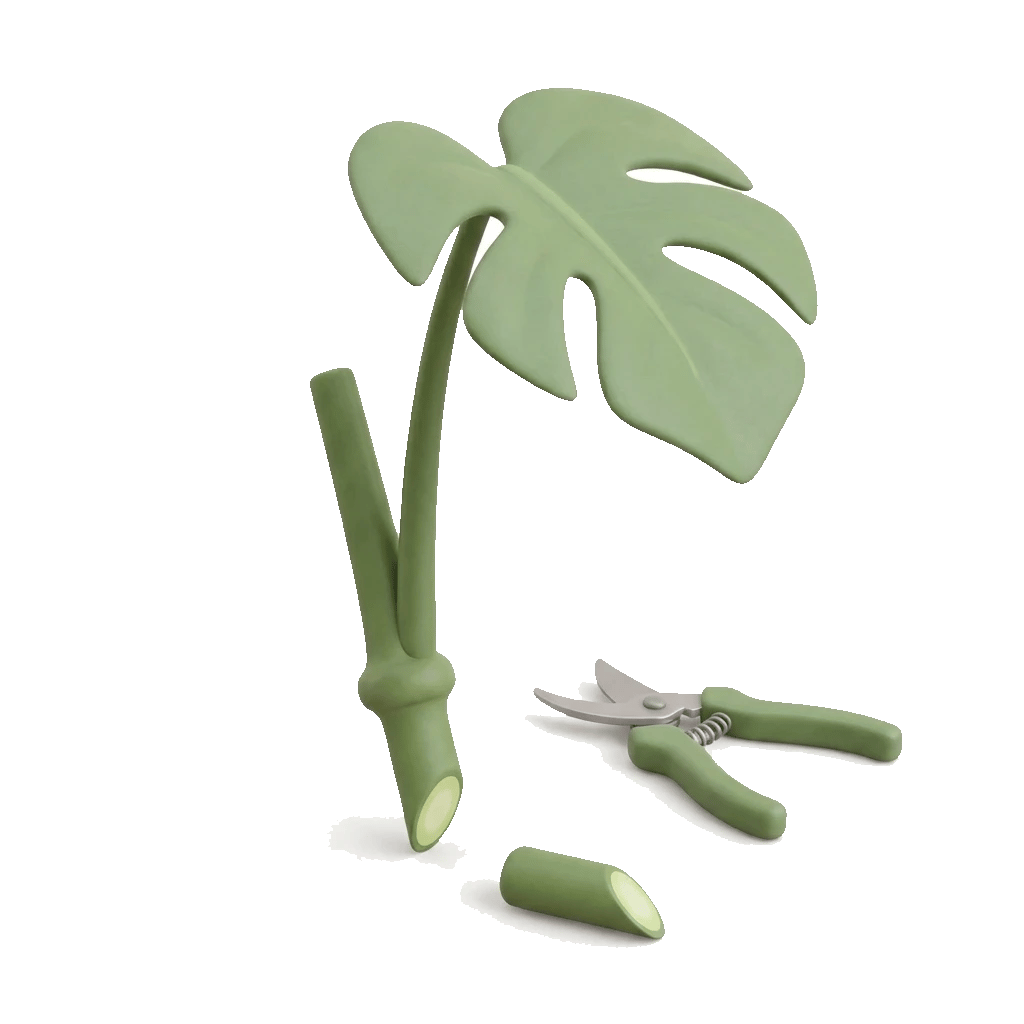
- node
- 45° cut, 2 cm below the node
- discard
The cut
Cut at an angle 2 cm below the node: this piece of stem provides a reserve.
The 2 cm (about 0.8 in) of stem below the node acts as a reserve: this part will rot first if the water becomes contaminated, giving the node that much protection. A cut flush with the node leaves no safety margin.
An angled cut increases the absorption surface and prevents the stem from resting flat on the bottom of the vase.
Preferably choose a stem that already carries a well-developed aerial root: it will take up water immediately and save two to three weeks.
The water method, step by step
- Find the node: look for the swelling where the leaf stalk and aerial root emerge. On an adult monstera, there is one every 10 to 20 cm (about 4 to 8 in) of stem.
- Cut 2 cm (about 0.8 in) below it, with disinfected shears and an angled cut.
- Submerge only the node in a vase of room-temperature water. Keep the entire leaf out of the water: a submerged leaf decomposes and contaminates the whole vase.
- Change the water every week, without exception. This is what separates a cutting that roots from one that rots.
- Pot up when roots reach 5 cm (about 2 in), usually after 4 to 8 weeks.
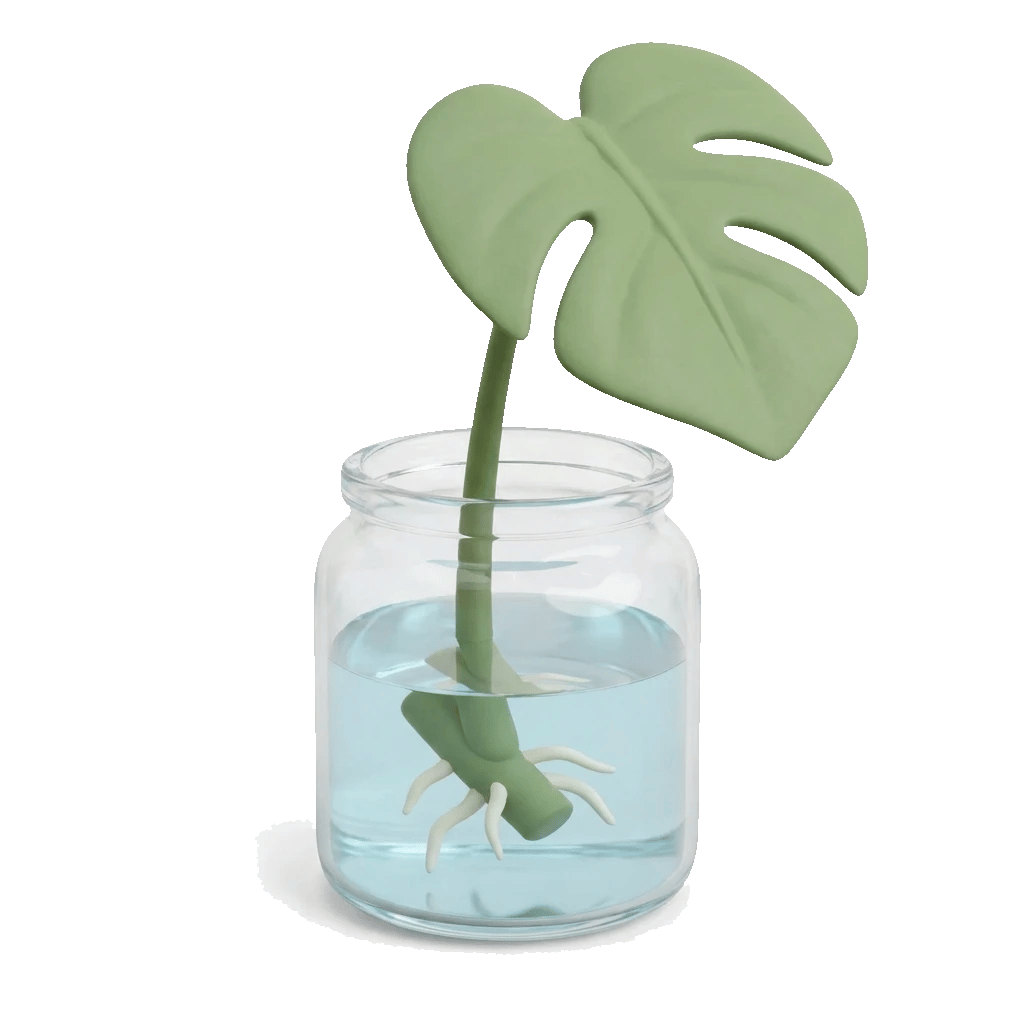
- submerged node
- water level
- leaf kept dry
The cutting in water
Only the node goes below the surface: a submerged leaf will rot and cloud the water.
Stand the vase in bright indirect light, never direct sun: the water would heat up and algae would take over.
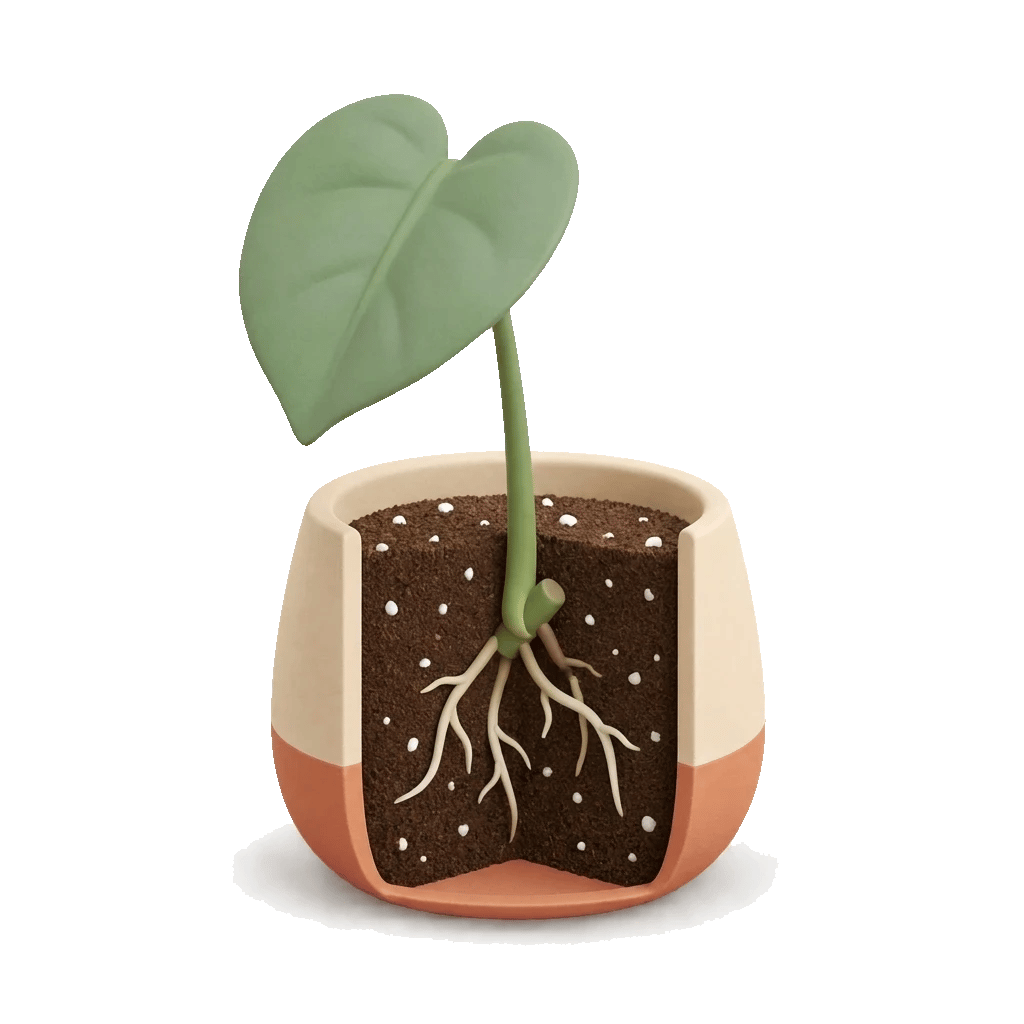
- 5 cm of roots
- free-draining potting mix
Potting up
Pot up once the roots reach 5 cm, using a free-draining potting mix.
The potting-mix method
Make the same cut, but place the node straight into free-draining potting mix: the blend of 60% potting compost, 20% perlite, 10% bark and 10% coconut coir described in the care guide.
Keep the mix slightly moist, never waterlogged. If needed, cover with a cloche or clear bag for two weeks to maintain humidity. Ventilate every two days to prevent mold.
The advantage is that the roots that form are adapted to potting mix from the start. A cutting rooted in water has to build a root system adapted to the growing medium when potted up, and that is when many cuttings suffer a setback and lose a leaf.
When to take cuttings
In spring, as active growth resumes. In the northern-hemisphere conditions of the source guide, a cutting taken in March or April roots twice as quickly as one taken in October, and the parent plant heals in a few days rather than a few weeks. In another climate, follow the local period of renewed growth rather than those months.
- Stem cutting with a node
- March and Aprilin spring · roots in 4 to 8 weeks · roots well in waterSource: Floralens guide
- Stem cutting with a node
- In winterWinter cutting · higher risk of rot · roots in 8 to 12 weeksSource: Floralens guide
| Conditions | January | February | March | April | May | June | July | August | September | October | November | December |
|---|---|---|---|---|---|---|---|---|---|---|---|---|
| Stem cutting with a node | no propagation | no propagation | Stem cutting with a node | Stem cutting with a node | no propagation | no propagation | no propagation | no propagation | no propagation | no propagation | no propagation | no propagation |
Winter propagation works, but allow 8 to 12 weeks rather than 4 to 8, with a greater risk of rot because the cutting remains without roots for longer.
Why a cutting rots
| Symptom | Cause | What to do |
|---|---|---|
| Brown, soft stem below the water | Water not changed, bacterial growth | Cut again 1 cm (about 0.4 in) above the healthy area, use clean water and rinse the vase |
| Water turns cloudy in 2 days | Submerged leaf or leaf stalk | Leave only the node below the water |
| Cut blackens on the first day | Dirty tool | Disinfect shears with alcohol before each cut |
| No roots after 10 weeks | Cutting has no node, or the season is cold | Check for a node; wait until spring |
| Yellow leaf but healthy stem | Normal: the cutting is drawing on its reserves | Do nothing; the root is coming |
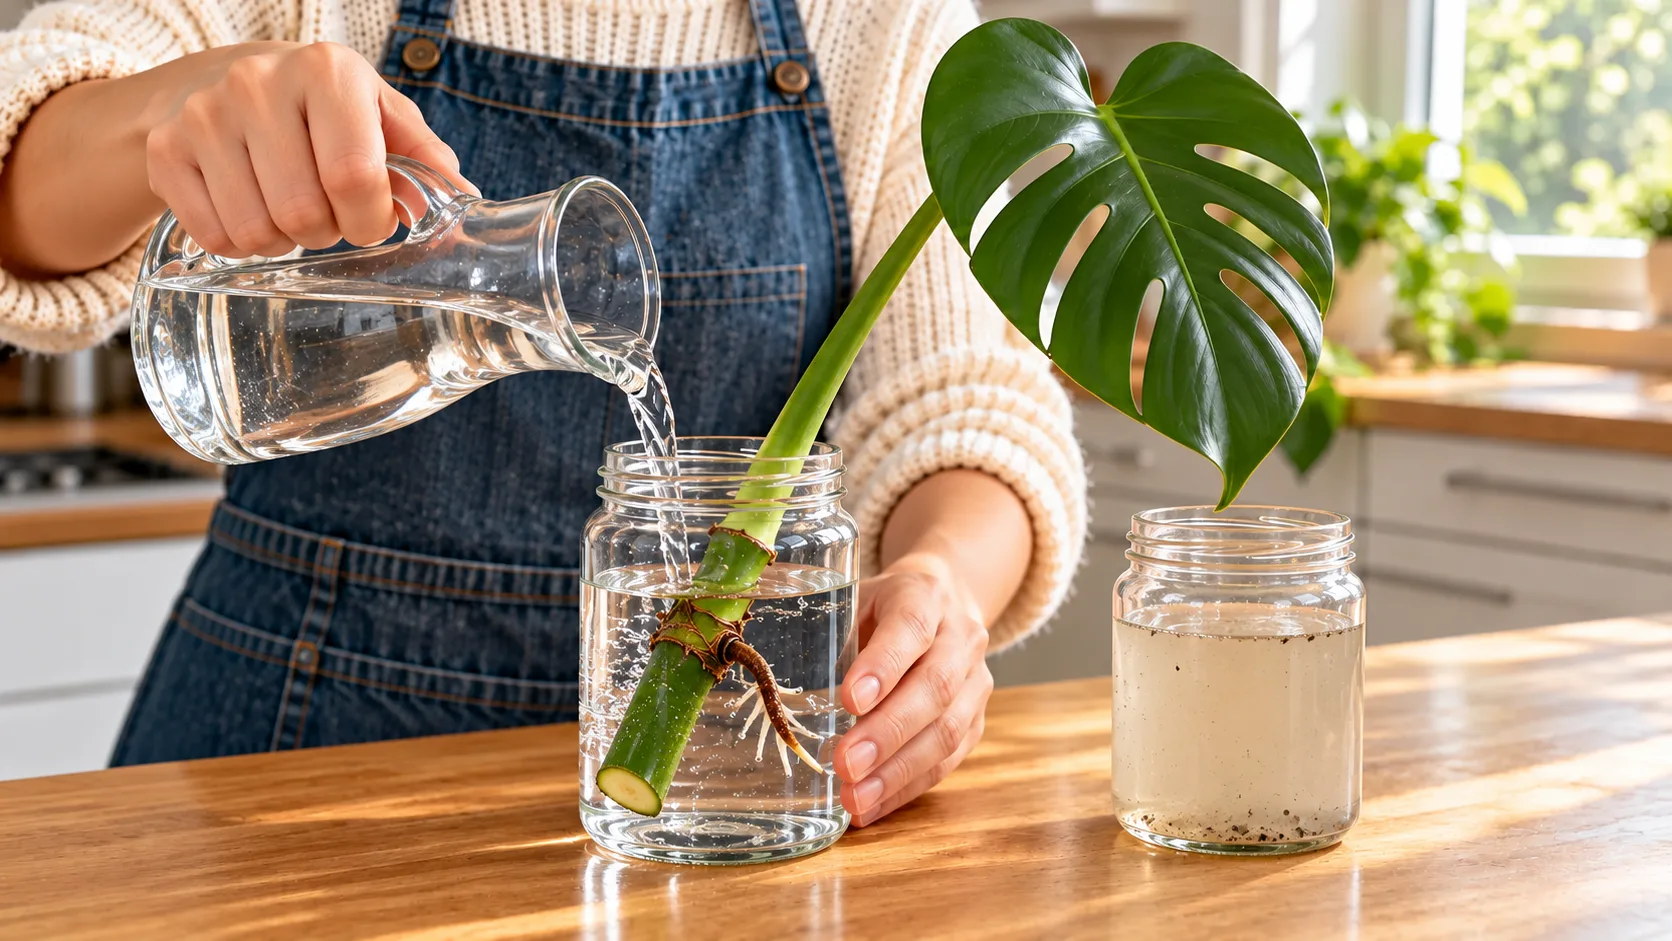
A cutting that loses its original leaf is not lost: as long as the node stays firm and pale, new growth will emerge from it.
What about the parent plant?
The cut on the parent plant heals on its own in a few days. Leave it exposed to the air, without wound sealant or a healing product.
One point few people anticipate: a monstera generally produces two stems from the node just below the cut. Taking cuttings is therefore also a way to fill out a plant that has become long and bare.
Frequently asked questions
Can you propagate a monstera from a single leaf?
No. A leaf without a node absorbs water and may even produce a few fine roots, but it will never form a stem or a new leaf: the meristem that allows growth is in the node, not the leaf stalk. The cutting will survive for a few months, then decline.
How long does a monstera cutting take to root?
Four to eight weeks in water at room temperature, faster during spring growth than in winter. The first white roots emerge from the node, not from the existing aerial root. Wait until they reach 5 cm (about 2 in) before potting up.
Does a monstera cutting need rooting hormone?
No, it is unnecessary. Monstera already produces aerial roots ready to take root: the success rate is close to 100% without any product, provided the cutting has a node.
Should a monstera cutting go in water or straight into potting mix?
Water lets you see the roots develop and reassures beginners, but water-grown roots are fragile and suffer when potted up. Potting mix produces roots already adapted to the growing medium. Water is simpler for a first cutting; free-draining mix is preferable for a stronger start.
Why is my monstera cutting rotting?
Three causes, in order of frequency: water that is never changed, a cut made with a dirty tool or a submerged leaf that is decomposing. Cut again 1 cm (about 0.4 in) above the brown area with disinfected pruning shears, change the water and leave only the node below the surface.