
Hydrangea cuttings: timing and method
Hydrangea cuttings, from shoot to young plant
To propagate a bigleaf hydrangea, take a soft, non-flowering shoot from late spring to midsummer. Cut below a node, remove the lower leaves and insert the base into moist cuttings compost, under a transparent cover in gentle light.
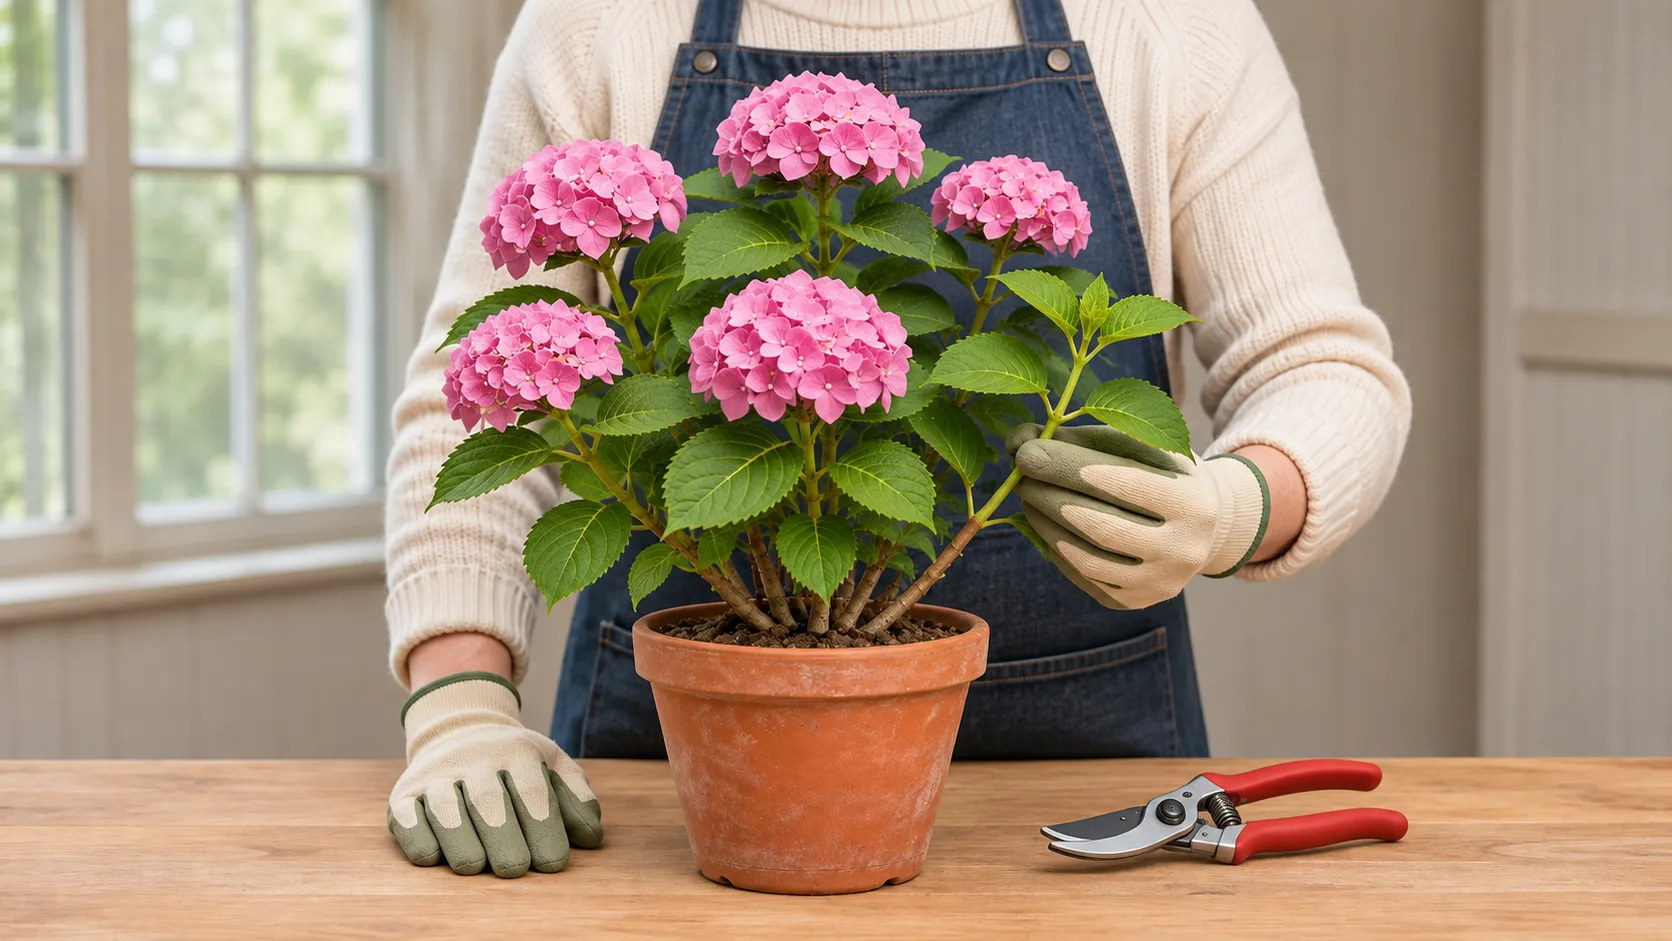
This method is for bigleaf hydrangea (Hydrangea macrophylla), with mophead or lacecap flowers. Its botanical profile helps you recognise these forms; the hydrangea care guide covers the young shrub’s later care in a border or container. To compare methods for different plants, see the propagation guides.
When should you take hydrangea cuttings at each growth stage?
Take soft young shoots from late spring to midsummer. Choose a leafy branch that is still flexible. Semi-ripe shoots can be taken in midsummer; hardwood cuttings, taken in winter, use another method. 1
- Softwood cutting
- In summerfrom late spring to midsummerSource: How to grow shrubby hydrangeas / RHS Growing Guide
- Semi-ripe cutting
- In summerin midsummerSource: How to grow shrubby hydrangeas / RHS Growing Guide
- Hardwood cutting
- In winterSource: How to grow shrubby hydrangeas / RHS Growing Guide
A softwood cutting loses water quickly. It needs prompt preparation and a humid atmosphere while rooting. A semi-ripe cutting comes from a different growth stage. Choose the stage of the wood first, then the appropriate method. 21
| Material | Season | Practical choice |
|---|---|---|
| Soft young shoot | Late spring to midsummer | The method described below, in a humid atmosphere |
| Semi-ripe shoot | Midsummer | Check that the base has started to firm up |
| Hardwood | Winter | Another method, using a dormant shoot |
Choose a leafy shoot that is still soft, at the right stage for a softwood cutting. 1
Which shoot should you choose, and where should you cut it?
Choose a well-hydrated young shoot without flowers, and prepare its base just below a node. Collect early in the day, when the tissues are full of water: non-flowering shoots root more readily. 2
Find the node: on a hydrangea, it is visible where opposite leaves attach. Taking the shoot from the shrub and preparing the cutting are separate cuts. On the parent, make a clean cut above a bud; on the removed section, trim the base below a node. 2
- Prepare equipment before cutting: a sharp tool, a clean bag, a label, a pot and compost. Soft tissues wilt quickly. 2
- Keep the shoot cool if it cannot be prepared immediately. Put it in a clean bag in the refrigerator if there is a delay. 2
- Reject diseased material: grey mould exploits damaged tissues and humid conditions, both of which occur around a covered cutting. 3
Keep the rest of the shrub intact when collecting material. Traditional hydrangeas flower on the previous year’s wood; hard renovation pruning removes the following summer’s flowers. Taking a shoot is a different job from renewing the whole shrub. 5
To work out which stems to keep, the hydrangea pruning guide explains the cuts that preserve flowering.
How do you prepare and plant the cutting?
Prepare a section 5 to 10 cm (about 2–4 in) long, trimmed below a node. Remove the lower leaves, then insert it into peat-free cuttings compost. Hydrangeas are among the plants suited to this softwood method. 2
- Trim the base again with a sharp blade, immediately below the chosen node. Keep the tissues around the cut intact. 2
- Remove the lower leaves and pinch out the soft tip. Keep foliage above the compost level. 2
- Fill a pot with drainage holes with peat-free cuttings compost. Drainage must let surplus water escape. 26
- Make a hole with a dibber, then insert the base. A dibber avoids pushing the cutting in by force; the lowest pair of leaves stays just above the compost. 2
- Label and water from above to settle the compost against the base. Write the plant’s name and the date the cutting was taken: you can follow its progress without lifting it out to check every day. 2
The substrate must stay moist during rooting. Moist means damp, rather than submerged: water trapped in a saucer is different from the humid atmosphere needed under the bag. A pot with drainage holes and suitable compost do different jobs from the transparent bag. 26
A healthy shoot, a clean cut, airy compost and a humid atmosphere prepare the way for rooting. Insert collected shoots promptly to limit water loss. 2
How do you keep the air humid without encouraging rot?
Cover the pot, place it in good light out of scorching sun and ventilate regularly. A propagator works; alternatively, use a clear plastic bag and place the pot somewhere warm. Enclosed propagation protects a stem that has no roots yet to replace lost water. 2
Maintain bottom heat of 18 to 24 °C and remove the bag at least twice a week for 10 minutes. Ventilation reduces stagnant conditions while keeping the air around the leaves humid. 2
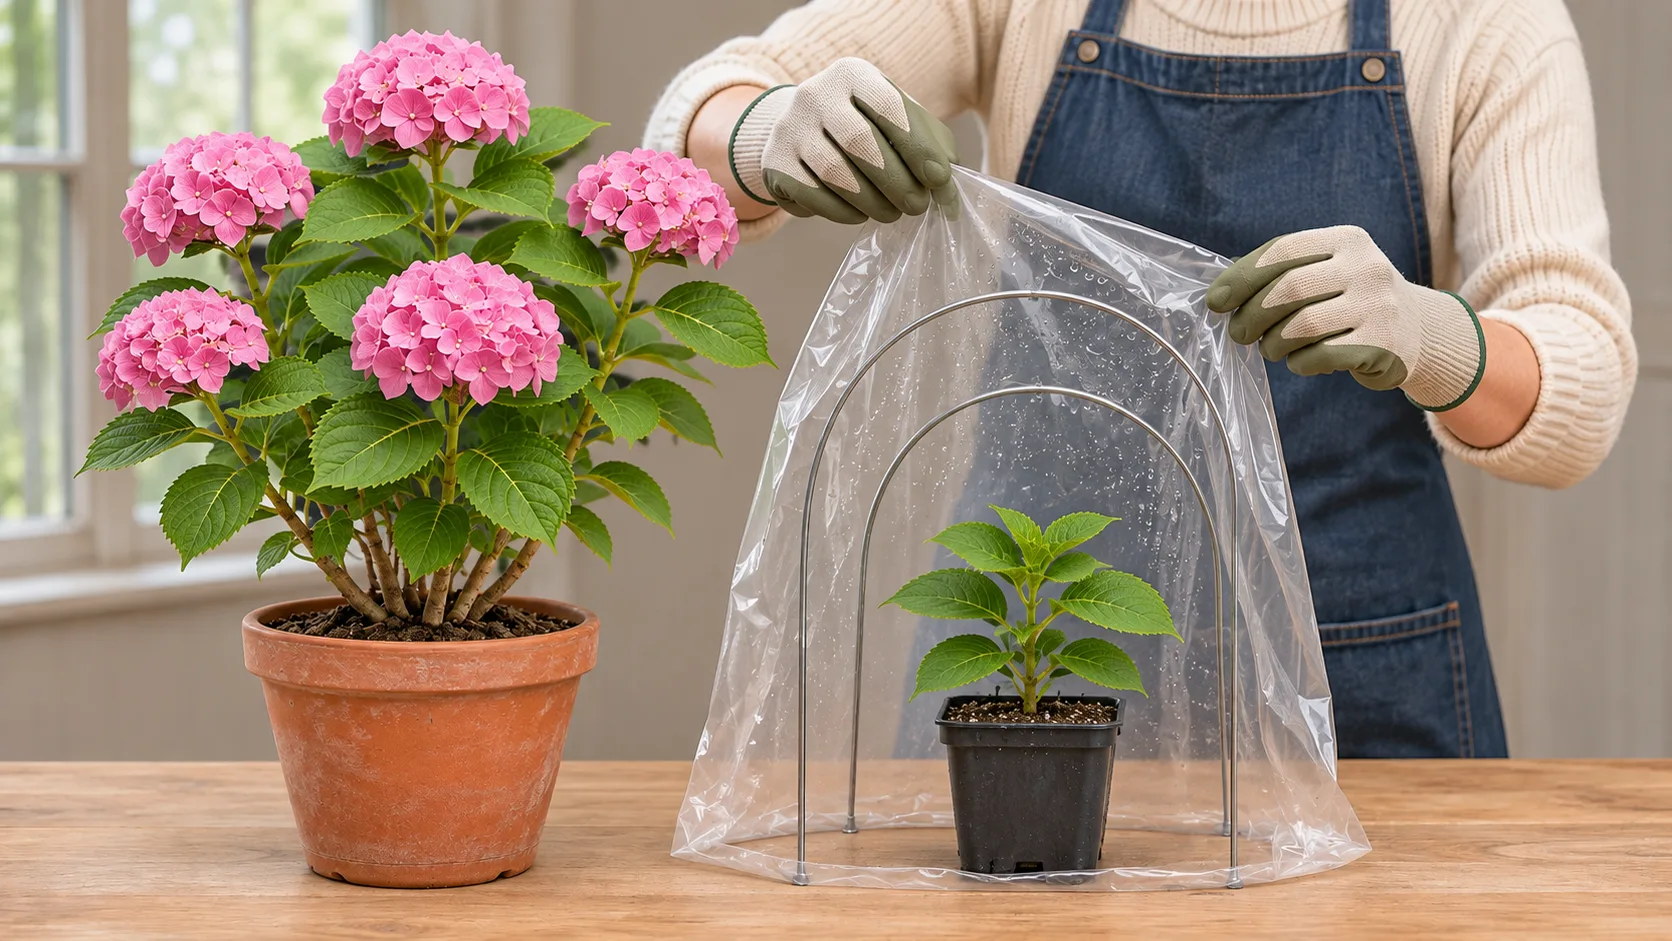
Watch the compost, which must remain moist, separately from the leaves, which need protection from scorching direct sun. A bag offers no sun protection. Keep the light adequate but diffuse; shading can soften excessively bright light. 2
Remove dead or rotten fragments as soon as you find them. Inspect the cuttings and remove dying tissues at least weekly. Under cover, grey mould produces grey-brown fluffy growth and soft tissues; humidity and poor ventilation favour its development. 23
How do you recognise rooting and harden off the young plant?
Wait for roots to develop, then increase ventilation gradually before potting individually. A leaf can remain green on an unrooted section. Acclimatisation then prepares the young plant for less humid air. 2
Softwood cuttings often root in 2 to 4 weeks under cover in good conditions. After rooting, allow about two weeks of hardening off, gradually opening the cover before potting each cutting separately. Shoot maturity and temperature affect these times. 2
Increase ventilation through the bag or propagator gradually. Tender leaves need to develop their cuticle to cope with less humid air. Removing the entire cover suddenly from a newly rooted cutting imposes the change that this gradual stage is meant to prepare it for. 2
Cuttings rooted and potted before midsummer can keep developing before winter. For those that are still insufficiently rooted, wait until the following spring to pot them on. Shelter small containers during the cold season and watch young shoots during late frosts. 21
For subsequent care, return to the hydrangea care guide.
To continue growing in a container, the hydrangea in pots guide covers the care of your young shrub.
Why do hydrangea cuttings fail?
Check water loss, drainage and dead tissues before adding a product. Soft shoots dry quickly; at the other extreme, poorly monitored humid cover favours rot. The visible sign helps you choose what to check next. 23
| What you see | What to check | Useful action |
|---|---|---|
| Leaves collapsing after preparation | Delay in open air, dry compost, direct sun | Restore humid air and diffuse light; prepare the next shoots promptly2 |
| Grey-brown fluff and soft tissues | Grey mould under humid cover | Remove affected tissues, improve ventilation and avoid excessive enclosure3 |
| Compost constantly saturated | Container drainage and water trapped beneath it | Clear drainage and avoid an oversized pot6 |
| Wilting when the bag is removed | Hardening off too quickly | Resume opening the cover gradually2 |
For more detail on these signs, see the grey mould and overwatering diagnoses.
Before collecting another shoot, the hydrangea disease guide helps you examine the parent plant.
Frequently asked questions
When will a hydrangea grown from a cutting flower?
Allow two to three years before the first flowers in some cases. Roots appear long before flowering maturity: keep the young shrub growing with regular moisture checks and protection suited to its small pot. 1
Should you keep all the leaves on the collected shoot?
Remove the lower leaves and pinch out the soft tip. Keep the remaining foliage above the compost: the lowest pair must sit just above the surface after planting. 2
Is a cut hydrangea shoot dangerous to dogs?
Yes, eating it can be harmful. Keep cuttings and removed fragments out of reach and collect debris after preparation. If a dog has eaten any, contact a vet and give the plant’s name. 4